
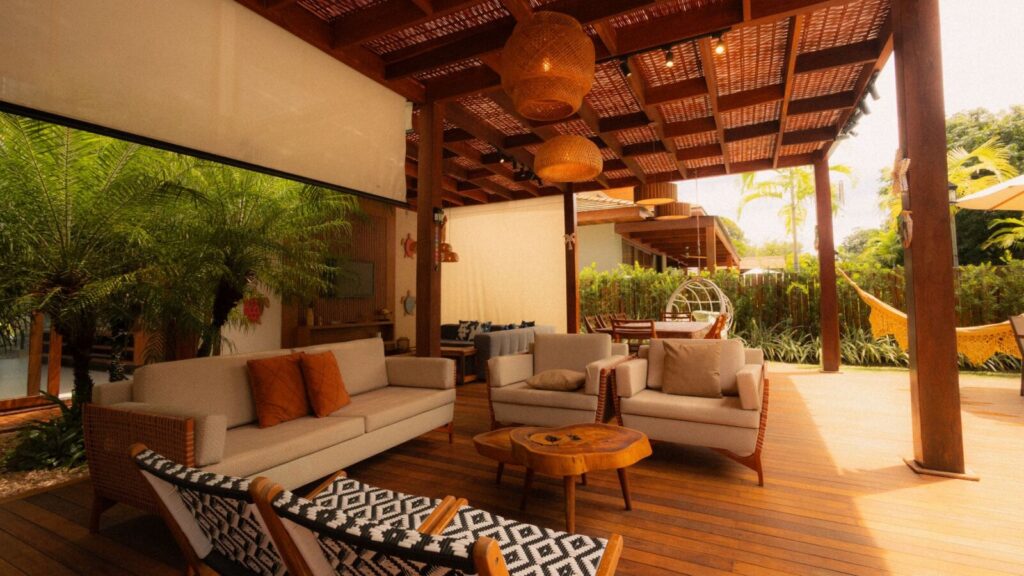
A timber pergola can turn an ordinary patch of patio into a place that feels planned. It gives an outdoor table or seating area a clear setting while keeping a connection to the garden. Building one successfully starts well before you lift the first beam.
If you want to know how to build a timber pergola in your backyard, begin with a complete design suited to your site. This guide explains the sequence, decisions and checks involved in a typical freestanding project. The timber sizes, foundations, connectors and lifting arrangements must come from your selected kit instructions or a qualified designer, rather than a general online rule.
Decide What You Want the Pergola to Do
Picture how you will use the finished space on an ordinary day. A dining pergola needs room for occupied chairs and a route from the kitchen, while a reading corner may only need two seats and a table. Mark that furniture arrangement on the ground before deciding where the posts belong.
Also watch the sunlight at the hours you expect to sit outside. Open rafters create partial shade, and their orientation and spacing change the pattern below. If rain protection is essential, include the intended roof in the original design because adding a cover later changes the loads and drainage requirements.
Our luxury pergola ideas can help you choose a visual direction. Use those photographs for inspiration, then turn the appearance you like into a buildable plan for your actual garden.
Choose a Complete Plan or a Timber Pergola Kit
A kit usually arrives with identified components and an assembly sequence, while a scratch-built pergola requires a full materials schedule and connection details. Either route needs to address wind, the intended roof, ground conditions and local requirements. Heavy timber also calls for a realistic lifting plan and enough experienced help.
When comparing kits, review the regional timber pergola USA and timber pergola Canada product pages from NORWEH. Check the current drawings, supplied components, anchoring requirements and installation responsibilities for your location. Ask the supplier to confirm what your specific configuration includes before ordering.
If you are using separate timber and hardware, choose a design intended for that combination. For example, Simpson Strong-Tie’s pergola hardware resources provide plans for particular systems. Their dimensions and anchor requirements belong to those systems and should not be transferred to a different structure.
If you are still deciding on the size, roof style or installation scope, our guide to choosing a timber pergola for your home can help you settle the brief before construction begins.
Step 1: Check the Site Before Ordering Materials
Confirm the property boundaries, access route and any local permission or inspection requirements that apply to the proposed structure. Arrange for underground services to be located before any excavation, and establish how private services such as garden lighting or irrigation will be checked. Do this before fixing the post positions.
Look at drainage, nearby trees and the relationship to doors and windows. An attached pergola introduces structural and weatherproofing work at the house, so treat it as a different design from a freestanding frame. If the site slopes or the existing patio condition is uncertain, have that assessed before choosing foundations.
Step 2: Prepare a Materials and Equipment List
Work through the approved drawings or kit manual and list every component, including items supplied separately. This prevents a delivery of attractive timber from hiding missing anchors, brackets or temporary bracing. Check that fasteners and connectors are specified for the timber treatment and outdoor exposure.
| Part of the project | What to confirm |
|---|---|
| Timber | Specified species, structural grade, lengths and treatment |
| Foundations | Site-specific footing or slab details and required inspections |
| Connections | Correct post bases, anchors, structural fasteners and bracing |
| Assembly | Manual, lifting equipment, suitable work platforms and helpers |
| Finish | Compatible exterior coating and treatment for cut ends where required |
Check how the longest and heaviest pieces will reach the backyard. A narrow side gate, overhead cable or restricted vehicle access can change the assembly method. Resolve those practical constraints before the delivery arrives.
Step 3: Set Out the Pergola Accurately
Transfer the planned post locations using string lines and clearly marked reference points. For a rectangular layout, measure the sides and compare the diagonals to check the geometry. Refer to the drawing for whether dimensions are measured between post centres, faces or base plates.
Allow for the overhead projection as well as the ground footprint. Keep useful reference lines outside excavation areas so you can restore the layout after groundwork. A careful set-out makes the later assembly easier and helps prevent forced joints.
Step 4: Build the Specified Foundations
Install the foundations shown in the design and arrange any required inspection before covering the work. Footing depth and size depend on factors such as soil, frost, exposure and loads, so there is no reliable single dimension for every backyard. Allow concrete to reach the strength required by the design and anchor instructions before loading it.
Do not assume paving slabs, deck boards or an ordinary patio provide adequate anchorage. Existing concrete needs assessment for thickness, condition, anchor edge distances and the loads involved. Deck-mounted pergolas also require a designed load path into the supporting structure.
Step 5: Install the Post Bases and Raise the Posts
Position the specified bases according to the layout and follow the anchor manufacturer’s installation procedure. Hole preparation, embedment and tightening instructions are part of the connection’s performance. Keep any required timber clearance above the supporting surface.
Raise posts using the lifting arrangement set out for the project, then check them for plumb and secure the specified temporary bracing. A partly assembled frame can be unstable, so do not rely on a helper holding a post while you work above it. Keep the area clear until the frame is properly restrained.
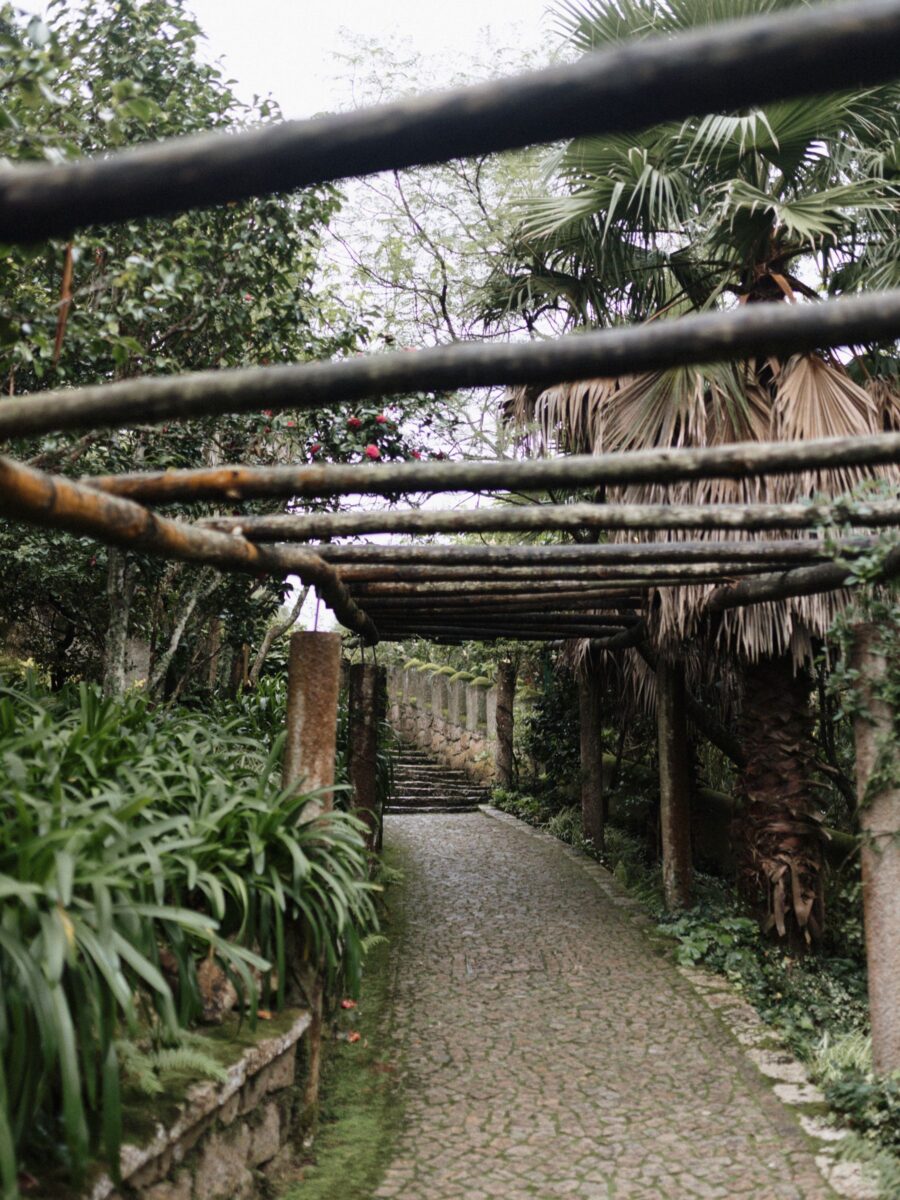
Step 6: Fit the Main Beams and Permanent Bracing
Assemble the beams in the order shown by the kit or drawings, using suitable equipment for their weight. Check seating surfaces, joint orientation and the specified fasteners before making the connection. Do not enlarge holes or trim structural joints to make a misaligned frame fit.
Fit the permanent bracing and other stability components when the instructions require them. Some frames use visible diagonal braces, while others rely on a different engineered arrangement. Keep temporary supports in place until the design or assembly procedure allows their removal.
Step 7: Install Rafters and Shade Slats
Mark the rafter positions from the plan and use a consistent reference edge as you work. Fit the specified connectors and maintain the designed overhangs. Shade slats should also follow the approved spacing and fixing details, rather than being added wherever a gap looks appealing.
Do not add a solid roof, hanging chair, heavy screen or climbing plant load unless the pergola was designed for it. These additions can change wind forces or increase weight substantially. Agree any alteration with the supplier or designer before installation.
Step 8: Finish the Timber and Check the Completed Frame
Apply the specified coating to suitably prepared timber under the conditions on the product instructions. Treat freshly cut ends where the timber treatment system requires it, and avoid coating hardware or drainage details unintentionally. A factory-finished kit may need a different approach from freshly cut treated lumber.
Complete the inspection and fastener checks required by the drawings and manual. Remove temporary bracing only at the approved stage, and keep the documentation for future maintenance. A qualified installer or inspector should resolve uncertain connections before the space is used.
Furnish the Pergola Around Its Original Purpose
Return to the furniture layout you tested before construction. Leave the entrance open, give each main seat a reachable surface and choose furnishings suitable for wind-driven rain and humidity. Our gazebo furniture ideas offer arrangements that also translate well to an open pergola.
Add lighting only with appropriate fittings and attachment methods. Have permanent electrical work completed by a suitably qualified professional, and keep any cables clear of walking routes. Use the space for a while before deciding whether it needs further accessories.
Frequently Asked Questions
Can you build a timber pergola yourself?
Some kits suit experienced DIY builders with suitable help and equipment. Foundation work, heavy lifting, house connections and unfamiliar structural details may require professional input.
How deep should pergola footings be?
The depth is site-specific and depends on soil, frost conditions, loads and local requirements. Use the approved foundation design rather than a generic depth from another project.
Can a pergola be fixed to an existing patio?
Possibly, but the supporting concrete and anchor layout must be suitable. Paving slabs alone should not be treated as structural foundations.
Can you add roofing later?
Only after the structure and foundations have been checked for the proposed roof and its loads. Plan for a roof at the outset if you expect to need one.
Build From a Plan That Fits Your Backyard
A good timber pergola combines a useful layout with sound foundations and correctly detailed connections. Choose a complete design, prepare the site carefully and follow the assembly procedure without improvising structural changes. Once the frame is finished, simple furniture and planting can make the space feel like a natural extension of your home.